This post dives into the development journey that resulted in the website tuli.space.
Background
My partner, Tuli, is an incredible Chicago-based movement artist, educator, producer, and choreographer. Tuli has made a significant impact within the dance community in Chicago. However, SquareSpace had grown to be frustrating and was no longer meeting the needs of this career.
Like many software engineers, hearing about an outstanding problem I felt I could address with code (and coffee) made my brain twitch. Being stuck on an unwieldy and restrictive website builder simply wouldn't do. With Tuli's blessing, we dove in and started planning.
Initial requirements
After a healthy amount of brain-fueled exercises (brain-picking, brain-storming, brain-dumping...) we landed on a relatively simple set of initial goals and requirements:
- A website to house information about Tuli's career: ongoing involvements, previous work, upcoming events, etc
- This website must be simple, mobile responsive, quick to update, and not take months to build
- Hosting and tooling for this project should be relatively cheap (or at least cheaper than SquareSpace)
- A contact form is needed, with protection against spam and bots
- Basic analytics must be available
First thing's first
The initial approach was simple enough. I'd use the marvelous static site generator HydePHP, which is built on top of Laravel Zero.
Any client-side interactivity could be accomplished with Alpine.js, a lightweight JavaScript framework.
Cheap(ish) hosting would be on AWS. Specifically: an S3 bucket configured to host a static site with a CloudFront distribution in front of it (for both SSL and caching), a Lambda function to serverlessly process contact form submissions (validating a reCAPTCHA verification, persisting submissions in DynamoDB, and notifying Tuli via an email sent by SES). AWS resources would be managed via CloudFormation templates.
The front end of the contact form would use Google's reCAPTCHA for protection against automated submissions.
Deployments would be as simple as pushing up changes and letting a GitHub Actions workflow handle generating the static site's files, syncing them to S3, and creating a cache invalidation in CloudFront.
I've worked with each of these technologies before, so the learning curve would be relatively shallow. So far so good.
Code code code
So, filled with aspiration and armed with a terminal, I broke ground. The initial project generation and organization was easy enough; HydePHP has an amazing convention-based approach to managing pages, posts, media, and more. After some back and forth about colors, styling, and layout, we finally settled on project theming that was Good Enough. I am a man of many digital talents; visual design is not one of them.
Copy and assets
The original plan was based on the assumption that content and images would not need to be updated frequently. Tuli
could just make an update in our shared Notion page, leave a comment notifying me of the desired changes, and throw
something at me if I was taking too long to start manually inputting the changes. I was hard-coding content in the Blade
templates, which worked well for most things. Images were simply downloaded, converted to a .webp format with the cwebp
CLI tool, and committed directly to the repository.
List/detail pages
Here's where things started to get interesting: out-of-the-box HydePHP generates an HTML file per Markdown file or Blade template. This was great for the surface-level pages, but what about pages that followed a list/detail pattern? Was I really willing to copy/paste Blade templates, all having the same structure, and just manually update the content and image source(s) dozens of times? No, I was not.
So what's a humble developer to do when a framework doesn't behave the way a project needs? Well, read the source
of course! A really cool thing about HydePHP is that it's both open source and extensible. I dug into how pages are generated
and stumbled across the DataCollection class. As the beginning of the source's docblock states, the class:
Automatically generates Laravel Collections from static data files
That sounds perfect for this use case. I had a collection of data and I wanted a reasonable way to manage and programmatically interact with it.
Extending HydePHP
I knew from reading the docs (which you should always do) that HydePHP was designed to be extensible. After a little more
digging I found the HydeExtension abstract class which (again from the beginning of the docblock) states:
When creating a HydePHP extension, you should create a class that extends this one
Sounds straightforward enough! I created a directory for my "models" (YAML files), extended the DataCollection class to
point to it, and extended the HydeExtension class. I also created a class I named ModelContainer, responsible
for holding all parsed models in memory (as an Illuminate Collection), which I bound to the service container as
a singleton. More on this later. In my HydePHP extension class, I implemented discoverFiles and discoverPages
methods which parses the YAML files and registers the page(s) for each model (another class I created, ModelPage, that
extends HydePHP's HydePage class).
A page out of Eloquent's book
Now that I had a way to load all models into a collection, I figured it would be nice to be able to interact with the data in a way similar to which I'm accustomed (Eloquent). So of course I built out an ORM-esque set of functionality.
To start, I needed a base (abstract) class from which all of my model classes would inherit. The constructor of my base
model class would accept an associative array (or FrontMatter class instance, which is included with HydePHP). I overrode
the PHP magic __get method and used some reflection wizardry to implement ways to access attributes in an object-oriented
way. I also implemented a way for the child classes to specify "casts" (just for string-backed enums and Carbon instances),
some basic relationships, and instances of the Markdown class (also shipped with HydePHP). In my YAML files, I referenced
the names of files containing markdown, allowing me to write things like event descriptions and personal biographies in
markdown instead of including it in the YAML files themselves.
Each YAML file uses a unique string ("slug") as an identifier (instead of incrementing integers).
Relationships in YAML
For relationships, I wanted a way to denote when models are related to each other. Events belong to Venues (and Venues
have many Events). People (educators) belong to many Events and vice versa. I implemented some simple classes named
BelongsTo, HasMany, and BelongsToMany. These relationship classes are responsible for resolving an instance (or
collection of instances) of related model(s), based upon the relationship method defined on the model class.
BelongsTo and HasMany relationships were easy: simply resolve models based upon a Fully Qualified Class Name and an
identifier. For BelongsToMany, however, I needed the equivalent of a pivot table. To solve this problem, I ended up with
an approach that stores pivot data in an additional YAML file; one file per BelongsToMany relationship. This file
contains a simple list of foreign identifier pairs with each item in the list representing a relationship.
Collections for scopes
There was one piece of the ORM puzzle missing for my use case, however: scopes. I wanted a way to filter a collection
of models using a fluent syntax, similar to Eloquent scopes applied to a query builder. To accomplish this I extended
Illuminate's Collection class, once per type of model, and defined my "scopes" to be methods that return a filtered
collection.
With attributes, casts, markdown file references, relationships, and scopes, I now had everything I needed to work with data stored in YAML files using my makeshift Object-Relational Mapping feature. The result is being able to programmatically interact with models.
Putting together progress
This is all great, but without a way to display the data to the website's visitors, it isn't more much than an implementation
exercise. So next, I created classes that extend the aforementioned ModelPage class. These classes defined: an output
directory for the final pages, the name of a Blade template, the FQCN of the relevant model, and methods for the page's
title and description.
Metadata and Open Graph
The methods for the page's title and description are used to add meta tags to the head of the resulting HTML page.
These methods are easily accessible as HydePHP makes the page instance available in the Blade template as the $page
variable. There was a key piece missing, however: Open Graph images. Links to pages within this website would surely be
shared on social media, so of course we need a unique Open Graph image for each page.
Remember that part earlier in this article where I mentioned HydePHP is built on top of Laravel Zero? This makes the framework extremely powerful and ripe for customization. I won't go into much detail here, but in summary I implemented a custom command to loop through each defined page and generate an Open Graph image using Intervention Image. You can read more about how I've done something similar for this blog here.
Now I could reference image file names in my YAML model definitions, run a command, and end up with generated images for each page. Naturally, this processes ended up as part of the GitHub Actions deployment workflow, but more on that soon.
Enter CloudFormation
Of course, this project needed infrastructure. I created CloudFormation templates for:
- the static site itself (S3 + CloudFront distribution)
- the contact form (Lambda + DynamoDB + SES)
- a proxy for Plausible.io (CloudFront with Lambda@Edge)
The static site template and contact form are pretty routine. The proxy, however, took a bit of tinkering.
I wanted to proxy Plausible.io's analytics script because it's not uncommon for adblockers to
block this script (even though Plausible anonymizes most of the data). There are two parts to this: serving the initial
JavaScript when a request is made to a subdomain of tuli.space at /js/script.js, and proxying requests made to
/api/event to Plausible's API.
Putting theory into practice
With all of the above, plus a quick and dirty GitHub Actions workflow, I was ready to deploy the first version of the
website. All that was remaining was the data, stored in .yml and .md files (and images).
Very, very quickly, Tuli and I realized how tedious of a process collecting all the data would be, communicating the content to me, and me putting it into files that could be committed to the repository. There must be a more efficient way.
Notion to the rescue
All of our communication about what needed to change was happening in Notion. Wait a minute, I thought, Notion has an API! I created four databases in Notion, which would become the source of truth for all website resources: people, events, venues, and blog posts. With the help of Claude Code, I again created some custom commands.
This time, the commands were responsible for querying for data via Notion's API and writing it in predetermined formats
to YAML files. Markdown content came from the Notion database item's page itself, which was transformed from rich text.
Images were downloaded separately, converted to .webp (if not already done), and placed in the _media directory. I
also created a sync:all command, which invokes all other sync commands.
Now, all I had to do each time Tuli needed to make an update to a detail page's resource, was run a command, commit, and push to GitHub. The GitHub actions workflow took care of the rest.
Tentative success
At this point I was feeling pretty accomplished. The combination of HydePHP and Notion had been successfully frankensteined into an improvised CMS. There was only one problem remaining: I still had to personally run commands from my laptop every time Tuli made a change. Close, but no cigar.
I theorized about how I could transfer my command-invoking powers to Tuli. Briefly, I considered setting up the project on Tuli's laptop and creating a shortcut of some kind to do the deed. This didn't feel quite right because updating the site was still tied to a laptop, even if it wasn't my laptop.
Simple button
As a general rule when working with technology, I like to imagine what I (or a client) wants without considering what is technically feasible. Then, I work backwards a trim scope into something that can be accomplish. What did I want in this case? A simple button. All I wanted was a button somewhere Tuli could click that would kick off the entire process. Is that too much to ask?
Remaining pieces
Lots of hidden requirements revealed themselves once I pulled on the threads of my desired button. If I spun up a simple static site with a single button, I'd still need to protect the site with some form of authorization. Furthermore, once this theoretical button was clicked, there still needed to be somewhere the actual sync command was run. Not to mention a way for the result to be committed to source control.
It turned out the answer was already staring me in the face: Notion and GitHub Actions. Notion supports firing a webhook as the result of a button click, and GitHub Actions supports triggering workflows via API calls. Unfortunately, as of writing this article, Notion's outgoing webhooks do not support including a body for the request. This is an issue because GitHub's API requires specifying the branch in a JSON payload when triggering a workflow.
One more CloudFormation template
First I tried using Zapier, which worked. However, it only worked on a paid plan due to tier limitations (I was on the free trial). I couldn't justify paying for Zapier, forever, for a single button. Instead, I reached for AWS Lambda. Using API Gateway to sit in front of a Lambda function for invocation used to be a requirement for something like this, but in 2022, AWS introduced Lambda Function URLs.
This means all I had to do was create a Lambda function that, among verifying the request used a valid secret, triggered
a workflow in GitHub Actions. This workflow was responsible for running the sync:all command, opening a Pull Request
with the resulting files, and merging it. Upon merge, a secondary workflow kicked off to deploy (as a commit was just
pushed to main, after all). One more CloudFormation template later, I was ready for my simple button.
Status update
As soon as I tested the button in Notion, another problem made itself painfully obvious: how would I know if it worked? Short of refreshing the page looking for specific changes and asking Tuli to create a GitHub account, we were deploying in the dark.
I returned to my CloudFormation template and added some more functionality. When a GET request to the same URL came
through, the Lambda function would respond with HTML displaying the status. This status is either that the project was
currently being deployed, or how long ago the project was last deployed. For bonus points, I added a simple JavaScript
setTimeout to refresh the page periodically.
Conclusion
Finally, the project had reached maturity and was ready for regular use, sans developer effort. Tuli had a control panel ready at a moment's notice, including ways to edit content, upload images, deploy changes, and monitor the deployment. This could even be done from a mobile device.
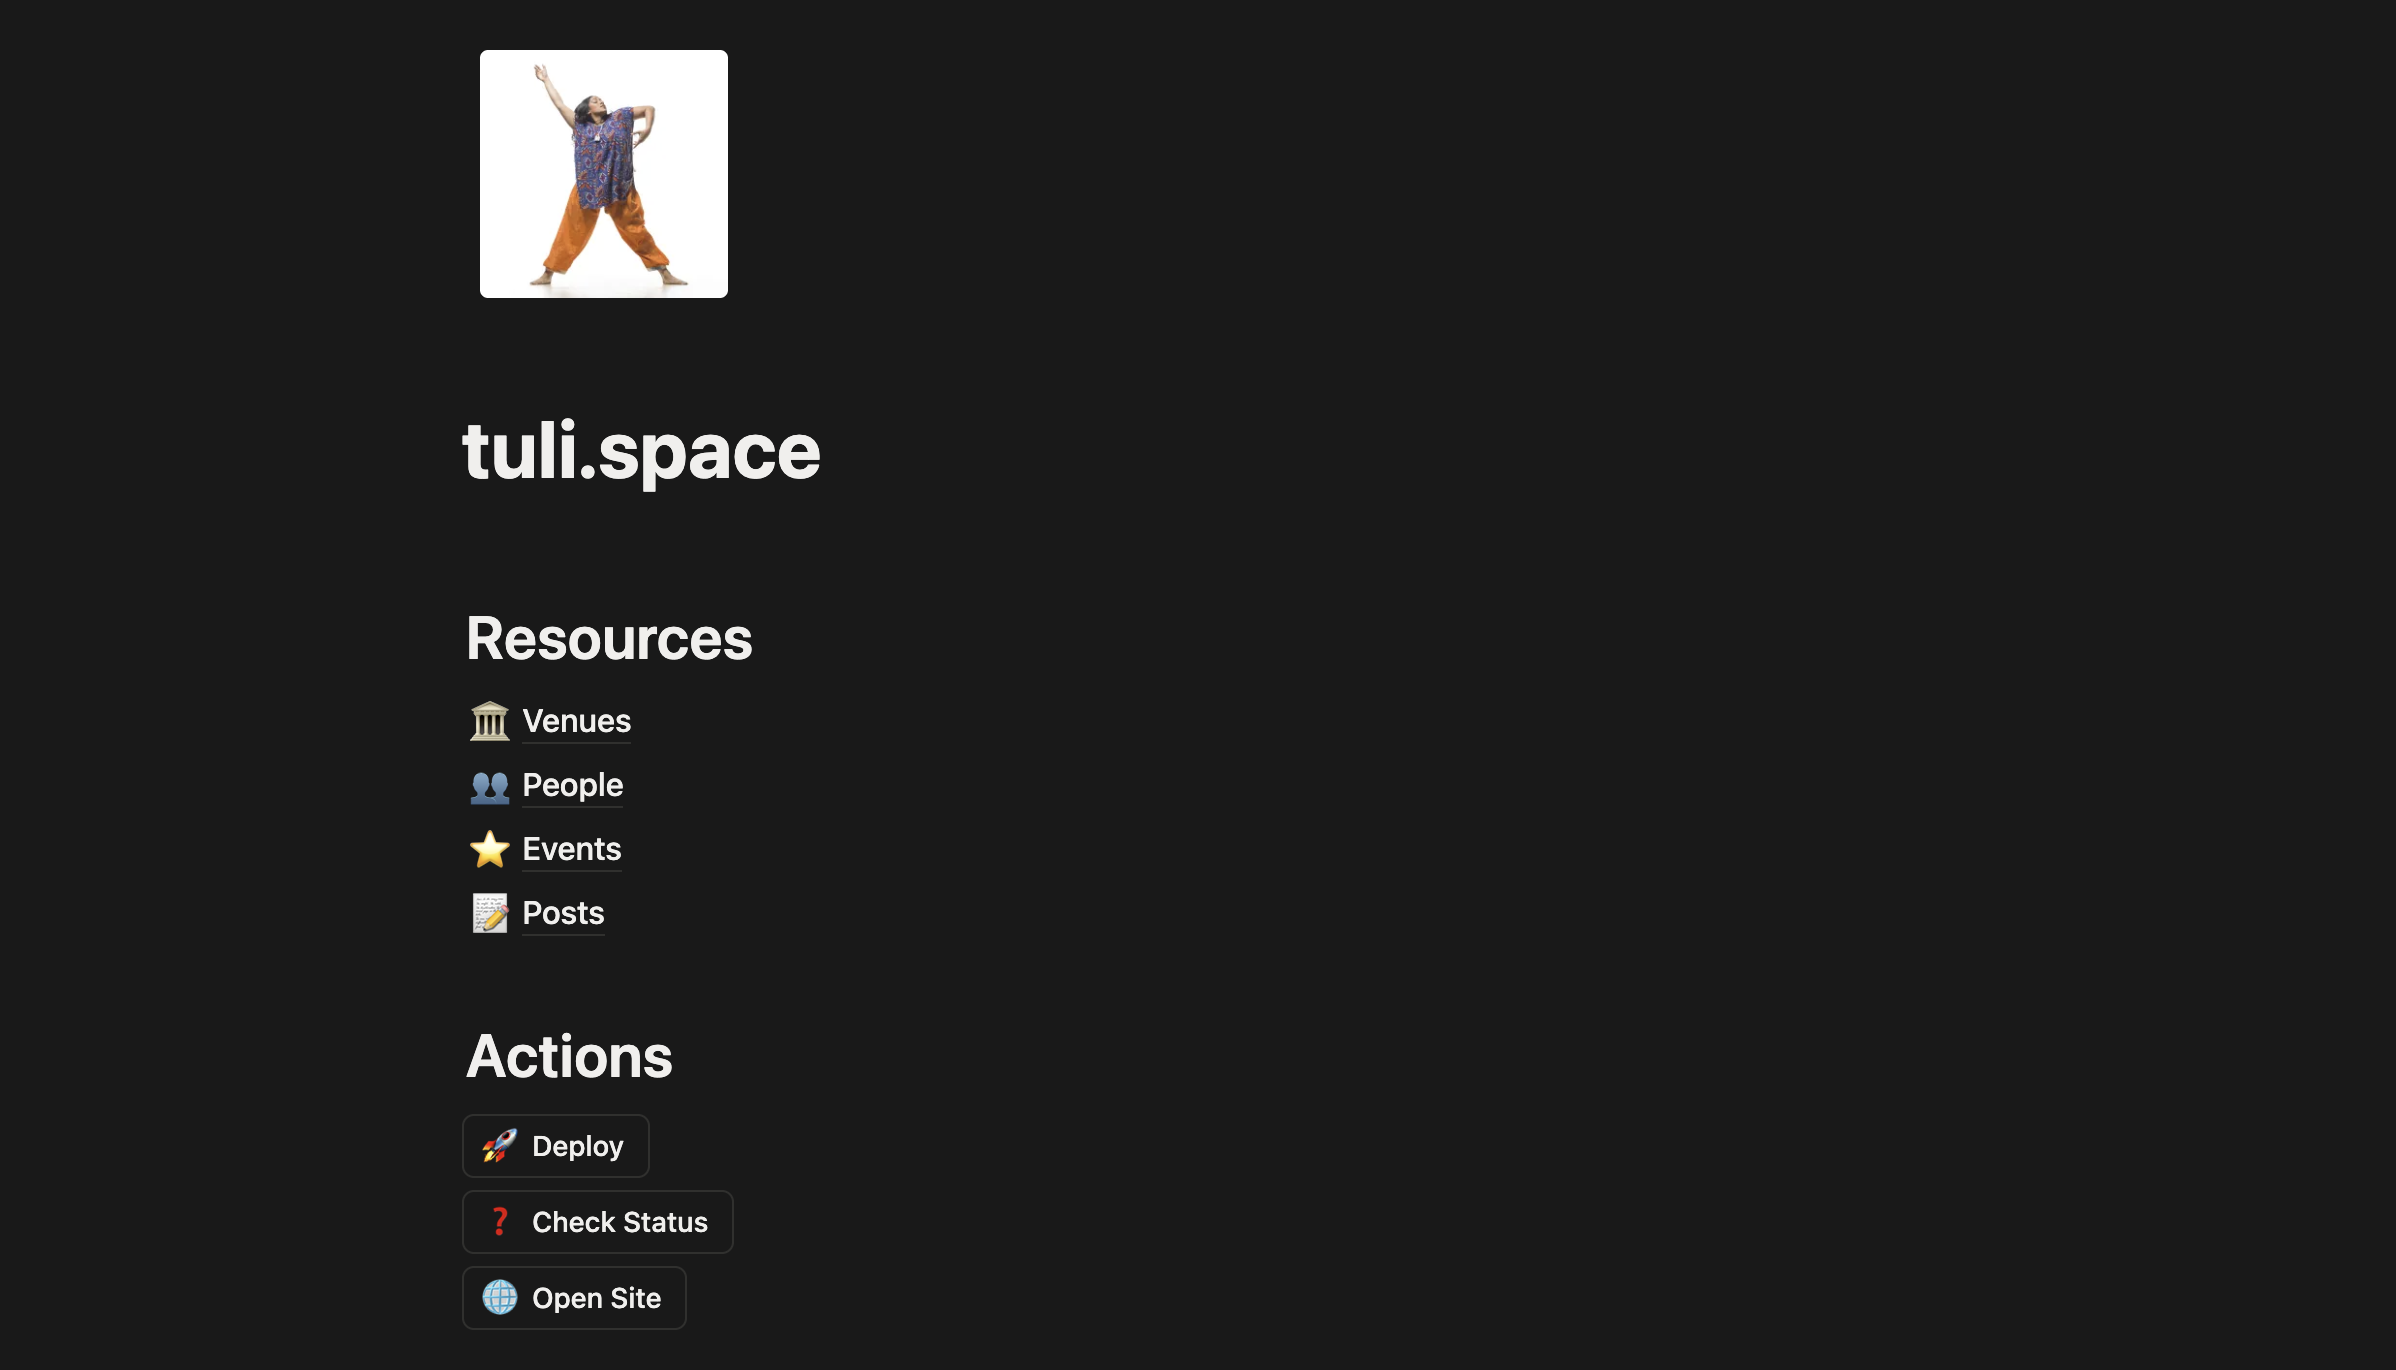
Not too shabby for a static site on a budget.